Lightbox
The Lightbox checkout is a simple popup that appears over the Ecommerce shopping cart, once your customer clicks the checkout button. This mode allows the buyer to follow the payment process without being redirected outside the Ecommerce, so that there is no doubt about the reliability of the checkout popup. The advantage of the Lightboxsolution is its usability, although its layout is not customisable.
Once the lightbox checkout has been integrated, your customer will view the popup as shown in the image below.
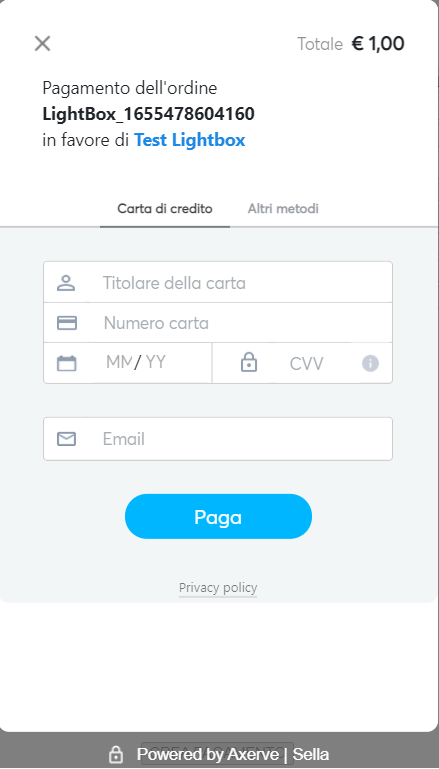
You’ll be able to decide, in every moment, which payment methods should be shown (such as: Credit Card, Paypal, Alipay, etc) choosing from the ones you’ve activated.
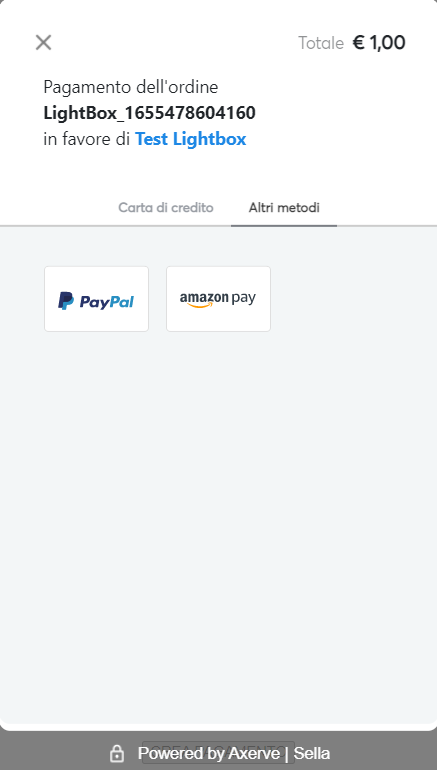
In case of a call from mobile devices, the Lightbox will be redirect on a new page.
The lightbox is optimized to be visualized via browser and the compatibility with other channels is not guaranteed (web View or App, for instance). For other channels, it is recommended the use of the standard payment page (integration via SOAP) or the customized payment page, as the lightbox is not adaptable or adjustable.
MyBank is not available on the mobile version of the Lightbox.
How to integrate the Lightbox solution
As mentioned in previous chapters, Fabrick Payment Orchestra Lightbox is the best and fastest way to accept payments. It is responsive, meaning that it will work on every screen (mobile, desktop…) without hassles and it is very easy to integrate too.
First, import the js script in your payment page:
Sandbox: https://sandbox.gestpay.net/pagam/javascript/axerve.js
Production: https://ecomm.sella.it/pagam/javascript/axerve.js
Then you must initiate the shopLogin:
axerve.lightBox.shop = shopLogin;
and use the PaymentToken and the PaymentID received at the previous step, by using the REST API payment/create (get further information in the technical documentation about REST API).
Once obtained these values, make the following javascript call:
axerve.lightBox.open(paymentID, paymentToken);
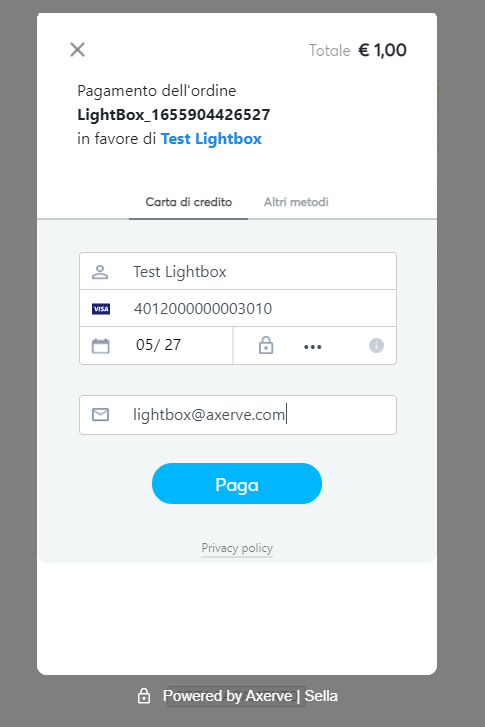
The lightbox page will show up, asking the customer to fill the credit card information fields or to choose other payment methods. For the sandbox environment, use one of our test credit cards.
When the payment is completed, the lightbox redirects the customer to the endpoint set in the backoffice.
It’s possible to overwrite the redirect functionality by passing a callback to the lightbox.
axerve.lightBox.open(paymentID, paymentToken, callback);When the payment is completed, the callback function is called. It receives a response object as argument:
function callback(response) {
  console.log(response);
}
/* example response:
{
  error: {
    code: null,
    description: null
  },
  paymentId: "1100274624",
  responseURL: " http://<your-server>/?a=GESPAY65987&Status=OK&paymentID=1100274624",
  status: "OK"
}
*/
As shown in the example, the payment has been successfully processed. Let's se now how the responseURLis composed.
Once a payment is accepted or rejected, you can redirect your user to a new page. By setting up this configuration in the Merchant Back-Office Fabrick Payment Orchestra will provide you with a link containing four parameters:
a, that is your shop login
Status, that will contain the status of the transaction
paymentID, a unique identifier that allows to query for the transaction status, cancel, update, etc.
paymentToken, a unique identifier for the payment
Examples of desktop and mobile flow
Desktop
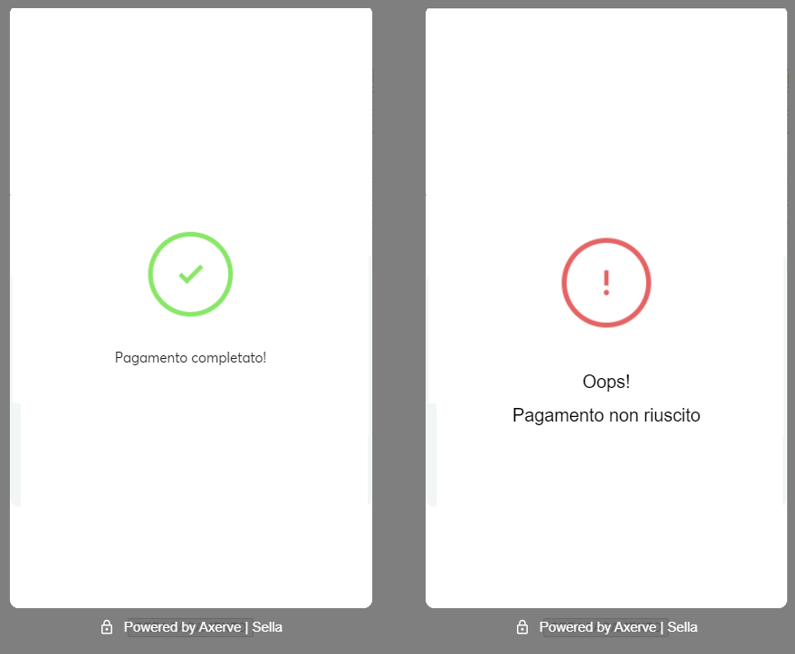
Mobile
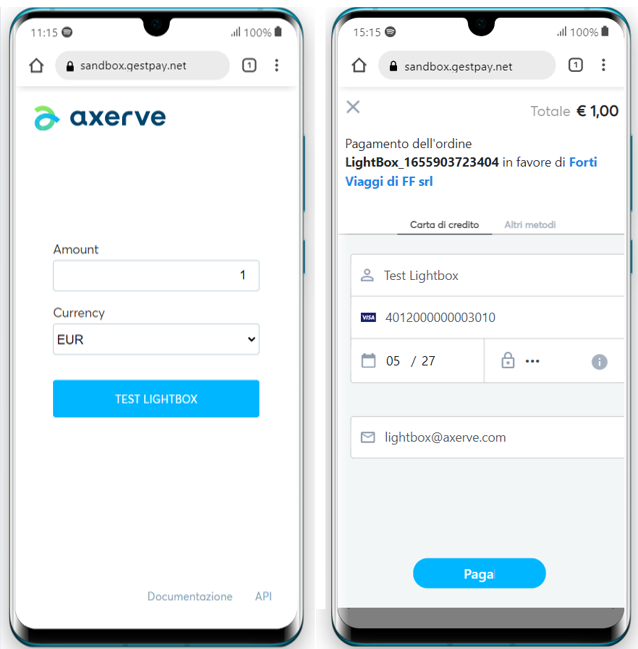

When using the lightbox, once the transaction is completed, a notification will be sent with a server-to-server call to the specifically configured page on the merchant’s server (the notification page URL is one of the details included in the merchant profile, which can be configured through the Fabrick Back Office).
This notification is sent only in cases where the user is on-screen during the transaction and using the Fabrick Payment Orchestra payment pages. If the transaction is managed directly via API, the notification will not be sent, and the merchant can rely on the API call responses instead.
More information on how to configure it is available here.
The call will contain the paymentID and the outcome (OK, KO) of the transaction.